REI End of Summer
2016
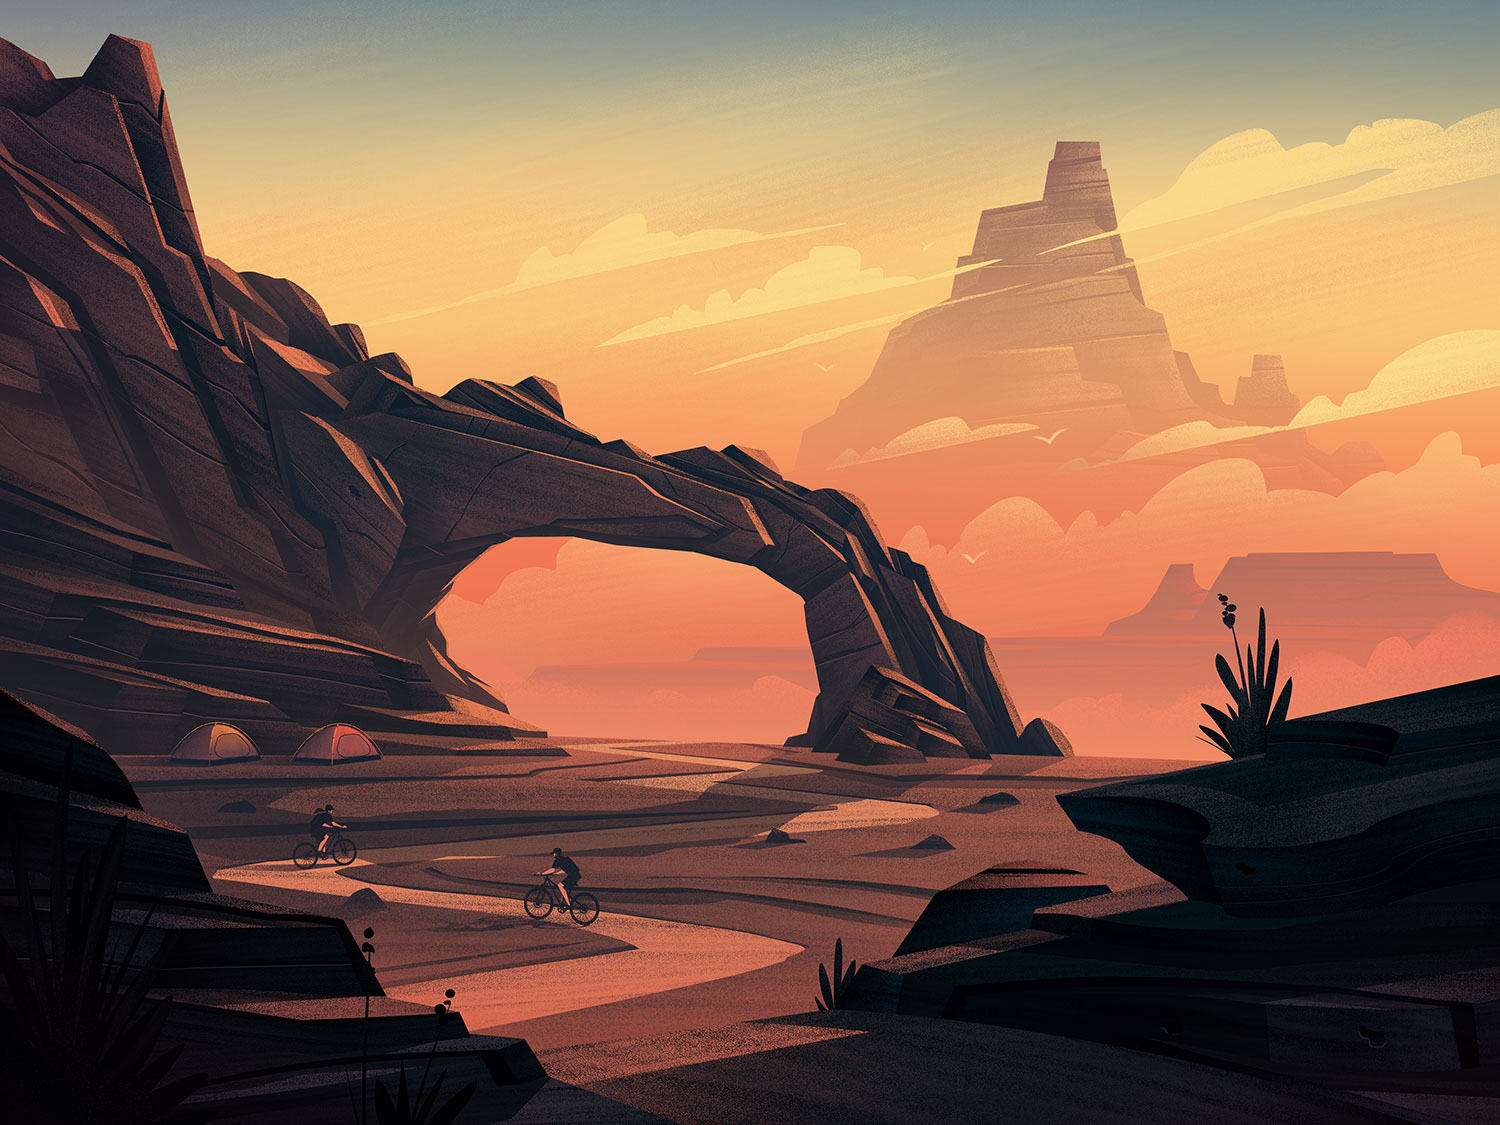
What better way to enter into the autumn season than chasing down a final summer sunset in an illustration for REI's "End of Summer Clearance Sale"! I really enjoyed the subject matter and process on this one so I thought I'd share some of the inside info on how the piece came together. Along the way, I'll try to answer some of the questions I'm asked most frequently. Hopefully the information is helpful!
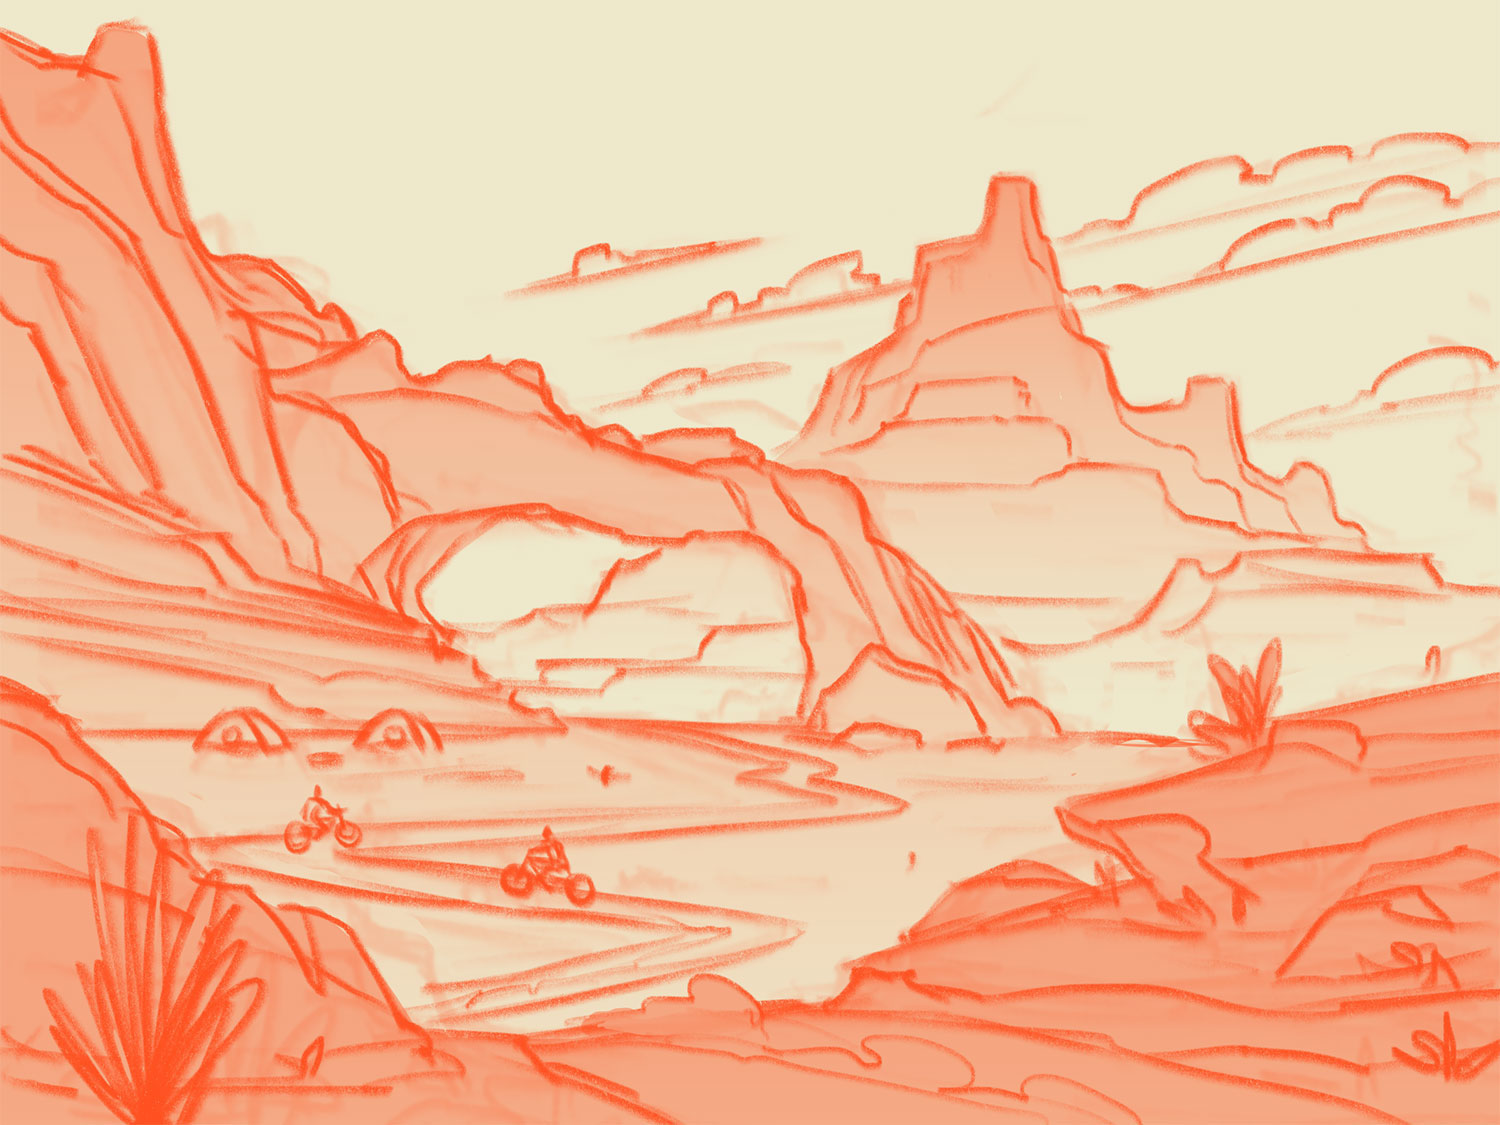
Sketches
I have been using the Apple iPad Pro + Apple Pencil for sketches ever since I picked up the device. I use the Procreate App because its tastefully simple and has a brush engine which has a very natural feel. I find the less I have to fight my tools, the more I can concentrate on fighting the blank canvas (a formidable opponent even on a good day). I keep my setup as simple as I can: pencil tool, eraser, simple gradients or shading to establish forms. There's no need for me to take the sketches further than this which means I have enough of the structure and layout established to give me a direction without being so specific it eliminates spontaneity within the painting process.
I have been using the Apple iPad Pro + Apple Pencil for sketches ever since I picked up the device. I use the Procreate App because its tastefully simple and has a brush engine which has a very natural feel. I find the less I have to fight my tools, the more I can concentrate on fighting the blank canvas (a formidable opponent even on a good day). I keep my setup as simple as I can: pencil tool, eraser, simple gradients or shading to establish forms. There's no need for me to take the sketches further than this which means I have enough of the structure and layout established to give me a direction without being so specific it eliminates spontaneity within the painting process.
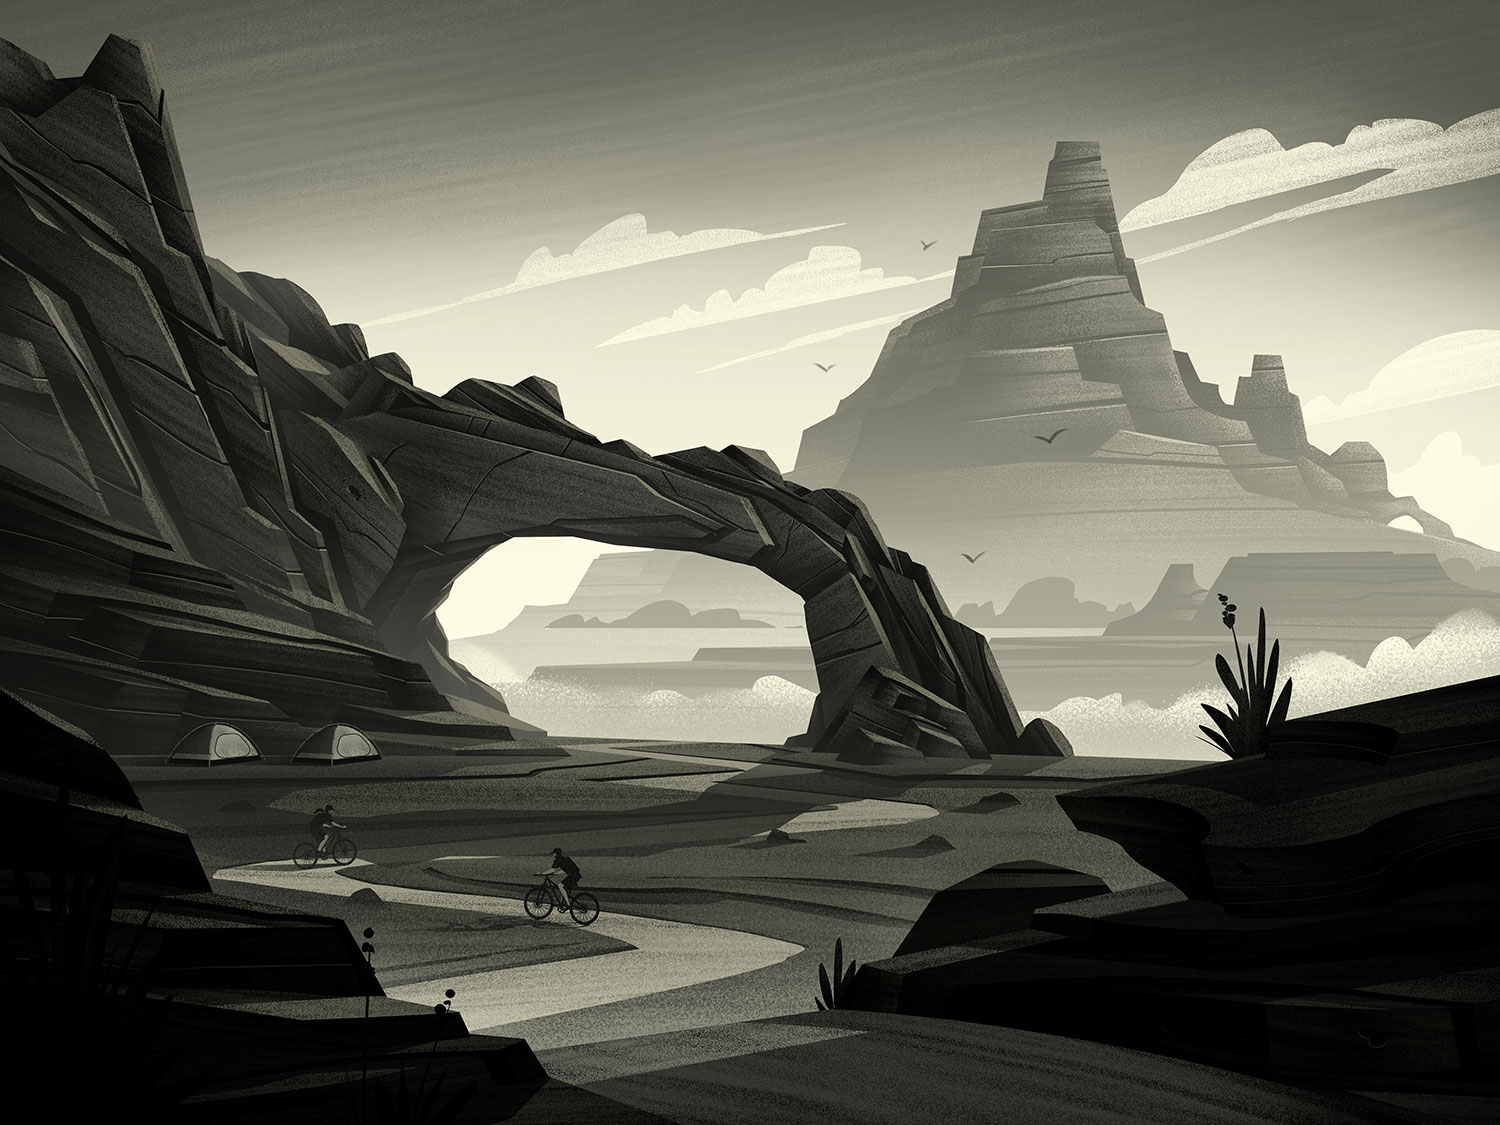
Forms, Lighting, Textures
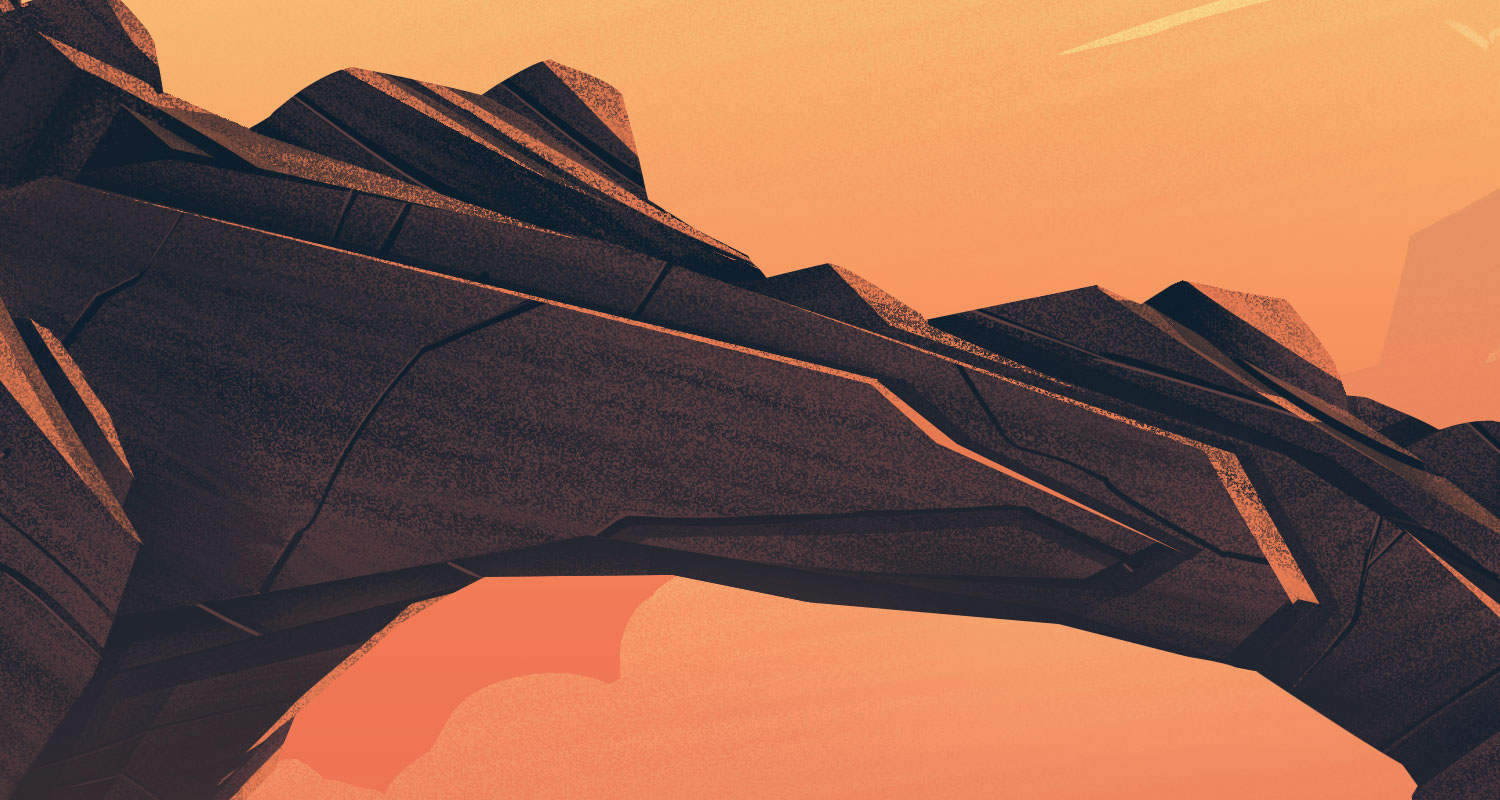
I truly enjoy working in black and white (or off white in most cases) because it allows me to concentrate on defining my forms, lighting, and texturing. I typically break down each piece into some derivation of foreground, middleground, and background in Photoshop.
I truly enjoy working in black and white (or off white in most cases) because it allows me to concentrate on defining my forms, lighting, and texturing. I typically break down each piece into some derivation of foreground, middleground, and background in Photoshop.
Starting with the background, I establish a general lighting source and begin painting my way forward. As I move forward, my values intensify which really helps to establish depth.
During this phase, I'm painting on my textures using custom pressure sensitive brushes with my Cintiq. I usually stick to a limited number of brushes (once again, too many options will begin to bog things down). However, since I picked up a bunch of brushes from Kyle Webster's amazing selection, I've been slowly integrating more more into my process.
Quick Tip: When you are first starting out, rather than working with hundreds of different brushes, try doing as much as you can with a single brush. This helped me focus on basics until I was ready to explore more brush options.
To establish my forms, I use a range of tools within photoshop - everything from hard round brushes to the pen tool to the lasso tool. The tool I choose depends on the type of edge or curve I'm looking for as well as my mood (somedays I feel like flinging brushes across the canvas, other days its all I can do to drag a lasso around the page).
Color
One of the questions I'm most frequently asked is how I go from black and white to color. The answer is simple: layering. Every object you see and every value within each object is on its own layer. This means when it comes time to color, I simply have to replace each value on each object. It sounds cumbersome, but it allows me to explore different color options and tweak things until they sit just right.
One of the questions I'm most frequently asked is how I go from black and white to color. The answer is simple: layering. Every object you see and every value within each object is on its own layer. This means when it comes time to color, I simply have to replace each value on each object. It sounds cumbersome, but it allows me to explore different color options and tweak things until they sit just right.
While I have used other methods to paint (such as moving past the black and white step and diving straight into color) this is the process I enjoy most to get my results. I find if I'm not enjoying the process, it shows in my work.
Conclusion
And with that, we reach the end of the breakdown! Thanks for sticking around - and I hope you found it helpful! I learned so much from other artists who chose to make these kinds of breakdowns so its my hope you'll find something useful in them.
And with that, we reach the end of the breakdown! Thanks for sticking around - and I hope you found it helpful! I learned so much from other artists who chose to make these kinds of breakdowns so its my hope you'll find something useful in them.
Big thanks to the fine folks at REI for allowing me to create these kinds of pieces. Its so much fun painting up the outdoors and we've got a lot more on the way.
I also want to say thanks to my agent, Deborah Wolfe, and her team for the support they offer behind the scenes. A good agent can help with a multitude of complexities which all drag you away from the canvas (or digital canvas in my case) so I'm very grateful to be working with one of the best!
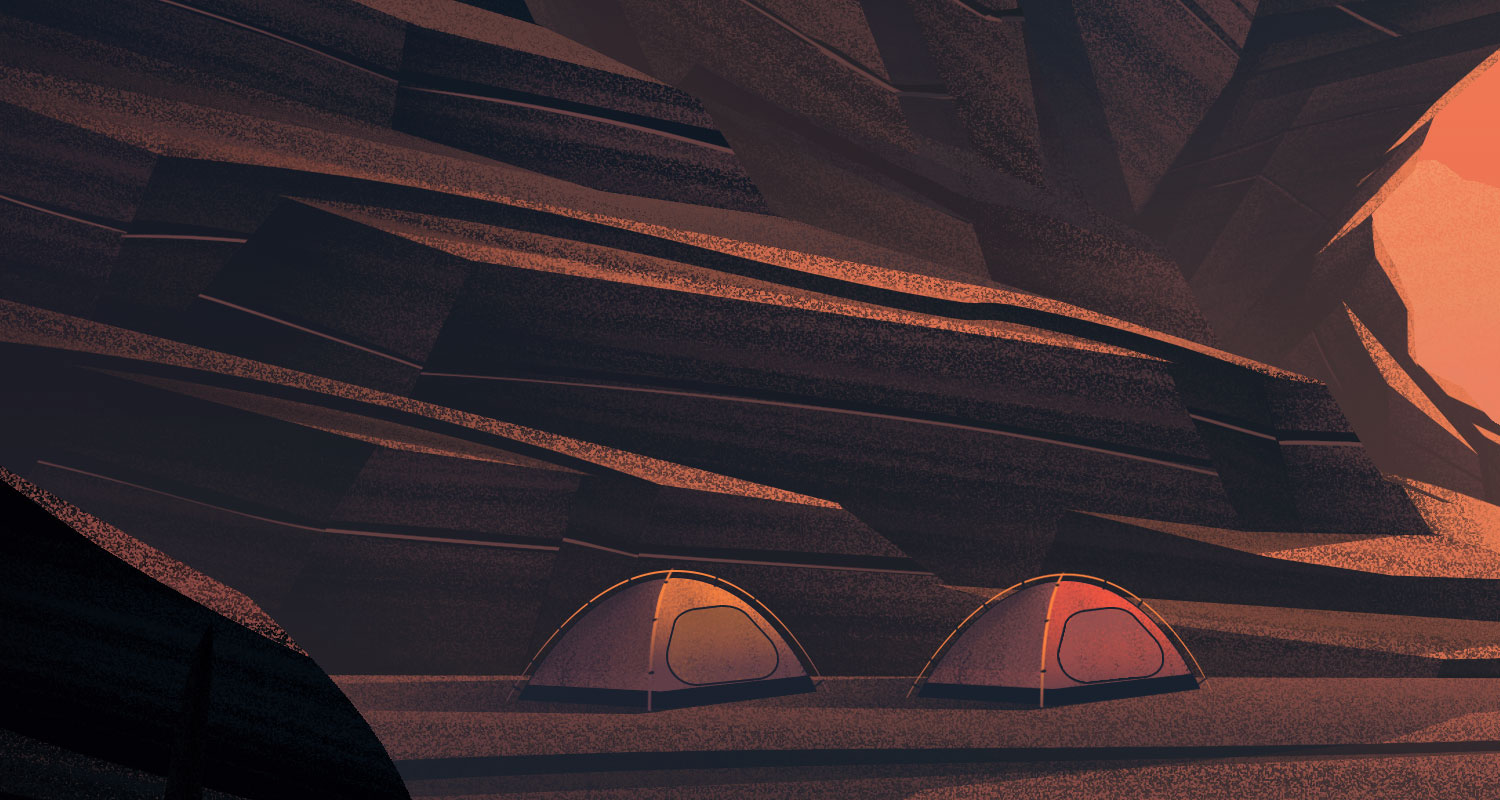
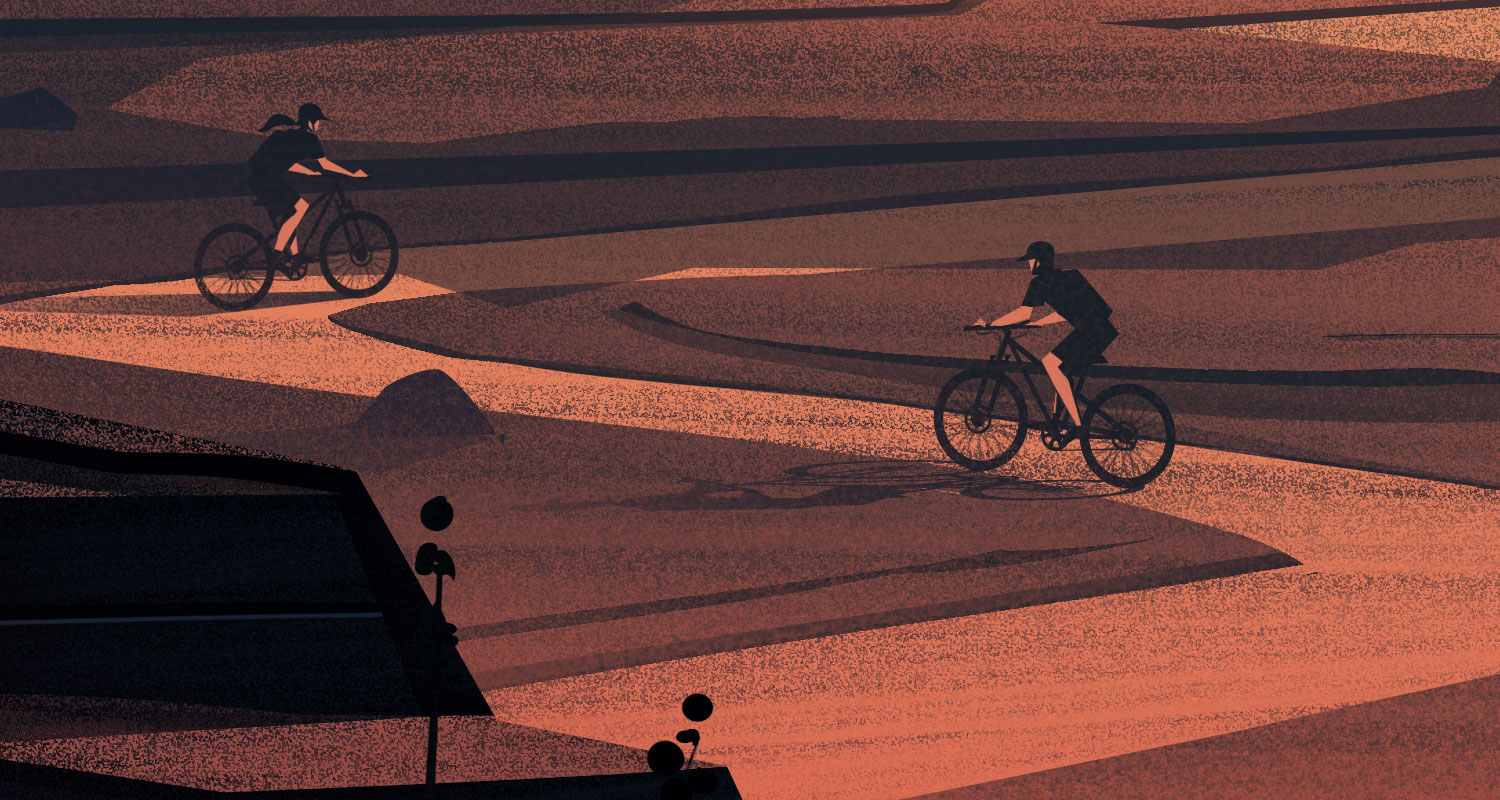
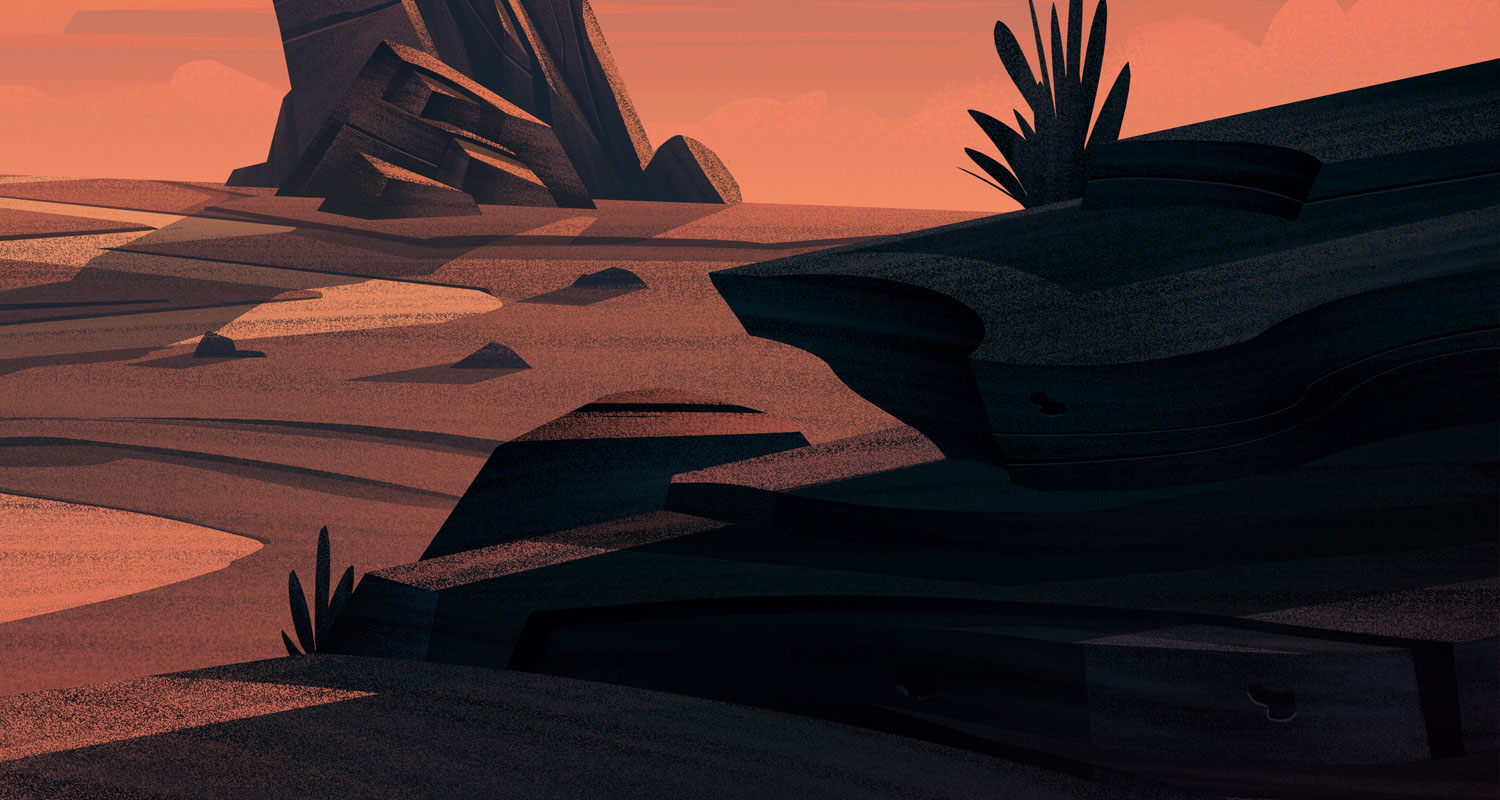
Here are a few detail shots to bring our Sumer to a close. Enjoy!